How Long to Pressure Cook Roast Beef Step by Step
You’ll want to pressure cook roast beef about 60-70 minutes for every 3-4 pounds at high pressure, adding more time for larger cuts. Season well and sear the meat first to lock in juices and deepen flavor.
Use a natural pressure release for at least 10 minutes to keep it tender. Frozen roasts need extra time and different handling.
Keep going to discover tips on seasoning, adding vegetables, and serving perfectly juicy roast beef.
How To Choose The Right Cut Of Beef For Pressure Cooking

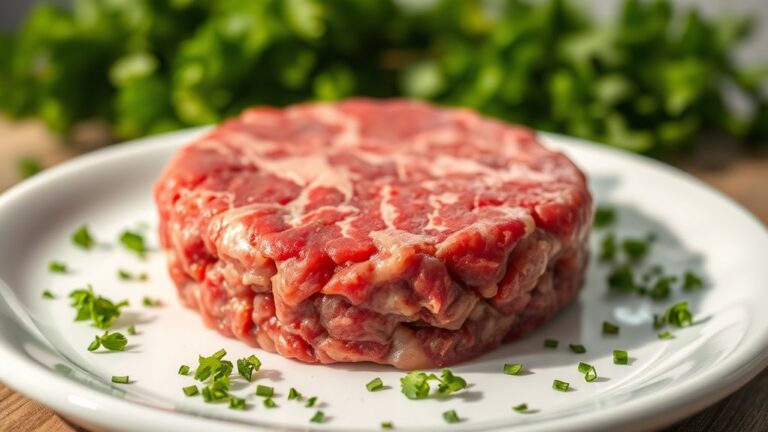
When you’re pressure cooking roast beef, choosing the right cut makes all the difference. Opt for tougher cuts of meat like chuck roast, brisket, or round, as they respond well to pressure cooking and become tender. Chuck roast is a favorite because its good marbling keeps the meat juicy and flavorful throughout the cooking process.
Avoid leaner cuts, such as eye of round, since they tend to dry out and get tough under pressure. Consider the size of beef, too—a larger roast needs more time to cook thoroughly. Bone-in cuts can boost flavor and moisture but may require slight adjustments to cooking time compared to boneless options.
Picking the right cut guarantees your roast beef turns out perfectly tender and delicious.
How To Prepare And Season Your Roast Beef Before Cooking
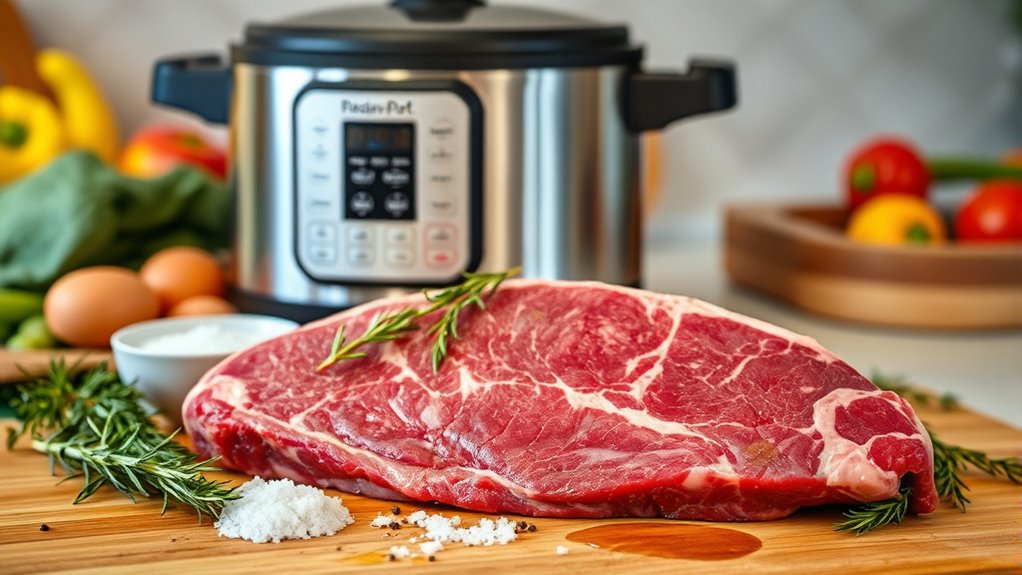
Now that you’ve picked the perfect cut, it’s time to season your roast beef properly. Rub salt, pepper, and your favorite spices evenly over the meat, then let it rest so the flavors soak in.
For an extra boost, sear the roast in hot oil before pressure cooking to lock in those juices.
Choosing The Right Cut
Choosing the right cut is essential to achieving a tender, flavorful roast beef in your pressure cooker. Opt for a well-marbled cut of meat like chuck roast or brisket, as the fat guarantees moisture and richness during the pressure cooking time. Trim any excess fat to prevent greasiness but keep some marbling for flavor.
Before cooking, season the meat generously with salt, pepper, and herbs, rubbing spices thoroughly for even seasoning on all sides. If you have time, marinating the roast for several hours or overnight can deepen flavor and improve tenderness.
Selecting the proper cut and preparing it thoughtfully sets the foundation for a delicious roast that cooks evenly and stays juicy throughout your pressure cooking process.
Effective Seasoning Techniques
Although seasoning might seem straightforward, applying the right techniques can transform your roast beef into a flavorful masterpiece. Start by seasoning the meat liberally with salt and pepper to build a savory crust when seared. Use a spice rub combining garlic powder, onion powder, paprika, and thyme for deeper flavoring.
Massage the rub evenly over all sides to ensure consistent taste. Don’t forget to incorporate aromatics like minced garlic or chopped onions to enhance aroma and complexity. Finally, let the seasoned roast rest for 10-15 minutes before cooking so the spices can penetrate fully.
Why You Should Sear Roast Beef Before Pressure Cooking
You should sear your roast beef before pressure cooking to boost flavor through the Maillard reaction, which creates a rich, caramelized crust. This step also helps lock in juices, making the meat more tender and juicy.
Plus, those browned bits left behind add extra depth when you deglaze the pan for your cooking liquid.
Enhances Flavor Development
When you sear roast beef before pressure cooking, you release a rich Maillard reaction that considerably boosts the dish’s flavor. This searing process triggers browning and caramelization, creating complex, savory notes that deepen flavor development. You’ll notice the caramelized surface sugars add a subtle sweetness, balancing the beef’s natural richness.
Additionally, searing forms a crust that locks in the juices, preserving the meat’s essence. Research shows seared meat develops higher levels of aroma compounds, making your roast more appetizing and flavorful.
- Maillard reaction intensifies taste
- Browning creates savory crust
- Caramelization adds subtle sweetness
- Sealing in juices enhances flavor
- Increased aroma compounds boost appeal
Searing isn’t just prep—it’s essential for a flavor-packed roast beef.
Improves Texture And Juiciness
Because searing roast beef before pressure cooking locks in its natural juices, it results in a tender, moist texture that makes every bite more satisfying. Searing creates a flavorful crust that preserves moisture, preventing the beef from drying out during pressure cooking.
This process enhances juiciness and improves texture, giving you a rich, melt-in-your-mouth experience. Without searing, the beef can lose valuable juices, resulting in a tougher, less enjoyable meal.
| Benefit | Effect on Beef | Your Experience |
|---|---|---|
| Searing | Locks in moisture | Juicy, tender bites |
| Maillard Reaction | Enhances flavor crust | Rich, savory taste |
| Moisture Retention | Prevents dryness | Soft, satisfying texture |
| Caramelization | Intensifies flavors | Deep, comforting aroma |
Pressure Cooking Times For Different Roast Sizes
Mastering pressure cooking times for various roast sizes guarantees your beef turns out tender and flavorful every time. When you pressure cook roast beef, adjusting the cooking time based on size is key. For a pot roast cooked at high pressure, these guidelines help:
- 3-4 pounds: 60 to 70 minutes of cooking time
- Over 4 pounds: add 10 minutes per extra pound
- Under 3 pounds: 50 to 60 minutes should suffice
Always allow at least 10 minutes of natural pressure release. Use high pressure settings for best results.
Adjusting Pressure Cooking Time For Frozen Vs. Thawed Meat
When you’re cooking thawed roast beef, plan for about 60 to 80 minutes under high pressure.
If your roast is frozen, add 20 to 30 minutes to that time and skip searing to avoid overcooking the outside.
Adjust the cooking time based on the roast’s size and always use a natural release for frozen meat to keep it tender.
Frozen Roast Timing
Although cooking frozen roast beef takes longer than thawed meat, you can still achieve tender, flavorful results by adjusting your pressure cooking time. When working with a frozen roast, expect to add 20-30 minutes more than the usual cook time to reach the desired tenderness. For example, a 3-pound frozen chuck roast needs about 90 minutes under high pressure instead of 70.
Remember to use a longer natural release of 10-15 minutes to help the meat relax and stay juicy.
- Increase pressure cooking time for frozen roast by 20-30 minutes
- Skip searing if needed but allow extra cook time for flavor
- Use natural release of 10-15 minutes for even tenderness
- Adjust timing based on roast size and cut
- Add vegetables after pressure cooking starts to avoid overcooking
This approach guarantees your pressure cooker delivers a perfectly cooked frozen roast every time.
Thawed Roast Guidelines
Adjusting your pressure cooking time depends largely on whether your roast beef is frozen or thawed. For a thawed roast, plan on 60-80 minutes of high-pressure cooking in your Instant Pot, depending on the cut and size. For example, a 3-pound thawed chuck roast typically needs about 70 minutes. This guarantees ideal beef tenderness without overcooking.
Remember to season your thawed roast before pressure cooking, and always allow at least a 10-minute natural release afterward. This gradual pressure drop helps the meat stay juicy and tender. Compared to frozen meat, thawed roast beef requires less time, so adjusting accordingly prevents drying out or undercooking.
Using these guidelines, you’ll consistently get tender, flavorful results every time you pressure cook your thawed roast.
How To Pressure Cook Your Roast Beef Step-By-Step
To get the most flavor out of your roast beef, start by searing it on all sides using the sauté function for 4-5 minutes per side. Next, add beef broth and seasonings to the pressure cooker, then lock the lid securely.
Sear the roast beef on all sides with the sauté function for maximum flavor before pressure cooking.
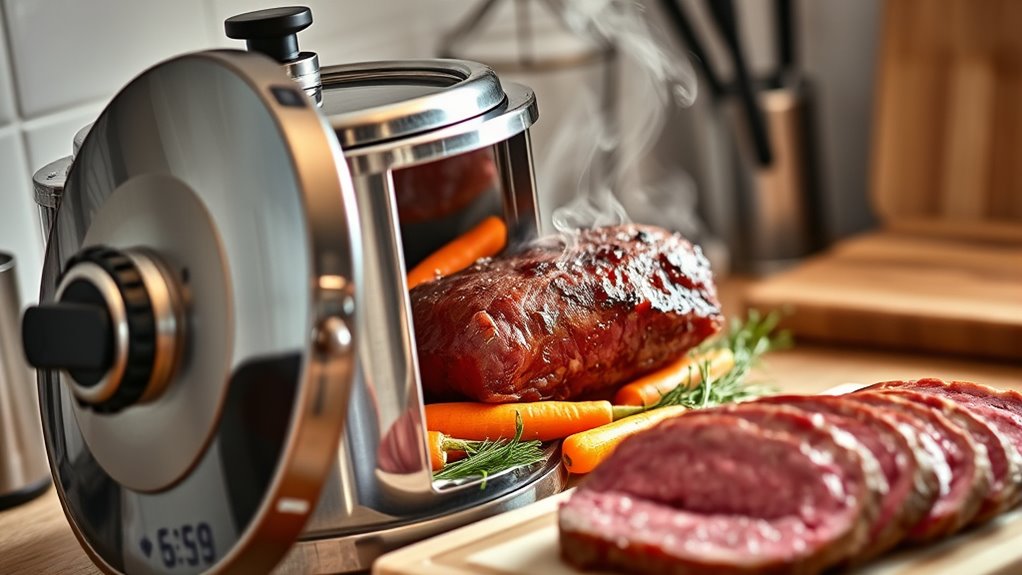
Set your cooker to high pressure and pressure cook the roast beef for 60-70 minutes, adjusting cooking time based on size and thawed or frozen status. Once done, allow a natural pressure release for 10-15 minutes to help the meat become tender.
Finish with a quick release, then remove the roast, tent with foil, and let it rest before slicing.
- Sear roast beef on all sides for flavor
- Add liquid and seasonings before cooking
- Cook at high pressure for 60-70 minutes
- Use natural pressure release for tenderness
- Rest roast before serving
Using Natural Vs. Quick Release When Pressure Cooking Roast Beef
When you finish pressure cooking your roast beef, choosing between natural and quick release can make a big difference in texture. Natural release lets the pressure drop gradually over 10 to 20 minutes, which helps the meat retain moisture and boosts meat tenderness. This slow release is ideal for large or tough cuts like roast beef, improving the final texture by making it more succulent and melt-in-your-mouth.
On the other hand, quick release releases pressure rapidly, often within seconds to a minute, which can cause the meat to seize and become tougher. While quick release saves time, it’s better suited for delicate foods. To get the best results when pressure cooking roast beef, rely on natural release to ensure ideal tenderness and a superior final texture.
Adding Vegetables To Your Roast Beef
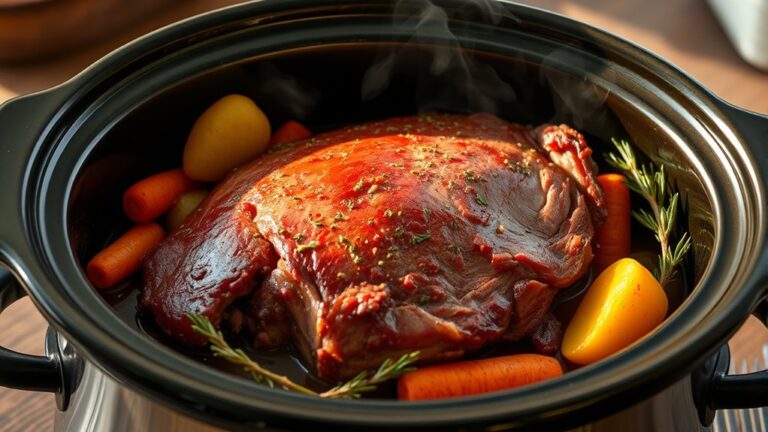
Although adding vegetables to your roast beef can enhance flavor and create a complete meal, timing is key to prevent them from overcooking. When using a pressure cooker, it’s best to add vegetables like carrots and potatoes after the roast has cooked initially. This keeps their texture just right.
Here’s how to handle them:
- Add baby carrots with the meat for an 8-minute cook.
- Cut potatoes into uniform pieces for even cooking.
- Introduce root vegetables in the last 5-8 minutes.
- Adjust cooking time when adding vegetables later.
- Avoid adding all vegetables at once to prevent mushiness.
How To Check Doneness For Tender, Juicy Roast Beef
Even if you’ve followed every step carefully, you can’t rely on appearance alone to know if your roast beef is perfectly cooked. To check doneness, use a meat thermometer to measure the internal temperature by inserting it into the thickest part, avoiding bone or fat. Aim for 145°F for medium-rare or 160°F for well-done.
Next, assess tenderness by pressing the roast with tongs—it should feel tender yet firm. Pierce the meat with a fork; it should shred easily if fully cooked and tender. After checking, allow the roast to rest for 5-10 minutes.
This resting time helps the juices redistribute and confirms tenderness, ensuring your roast beef turns out juicy and perfectly cooked every time.
How To Rest, Slice, And Serve Your Pressure Cooked Roast Beef
Once your roast beef is done cooking, let it rest loosely tented with foil for at least 10 minutes to allow the juices to redistribute evenly throughout the meat. This resting step guarantees your roast stays tender and juicy when sliced.
When you’re ready to carve, use a sharp carving knife and slice against the grain for maximum tenderness. Hold the roast steady with a carving fork to make even slices easier. Finally, serve your roast beef with the juices poured over to enhance flavor.
- Rest the roast to lock in juices
- Use a sharp carving knife
- Slice against the grain for tenderness
- Hold steady with a carving fork
- Serve with juices for extra flavor
Frequently Asked Questions
How Long to Cook Roast Beef in a Pressure Cooker?
You’ll cook a thawed 3- to 4-pound roast beef for 60 to 80 minutes on high pressure. If it’s frozen, add 20 to 30 extra minutes.
Don’t forget to natural release for 10 minutes afterward.
How Long Does It Take for Beef to Cook in a Pressure Cooker?
It takes about 60 to 80 minutes to cook a 3 to 4-pound beef roast in your pressure cooker.
You’ll get tender, juicy meat faster than traditional methods, especially if you let it naturally release afterward.
How Long to Pressure Can Roast Beef?
You’ll pressure can roast beef for 75 to 90 minutes in pint jars and 90 to 120 minutes in quart jars at 10-11 psi.
Always follow USDA guidelines to guarantee safety and tenderness.
Conclusion
Now that you’ve mastered pressure cooking roast beef, you’re basically a kitchen superhero—turning tough cuts into melt-in-your-mouth masterpieces in no time! Skipping steps? Impossible. Searing, seasoning, timing—each one’s your secret weapon for juicy perfection.
With these tips, you’ll make every roast so tender and flavorful, your family might start calling you the Beef Whisperer.
So go ahead, pressure cook with confidence and watch dinner miracles happen right in your own kitchen! Remember, mastering how long to pressure cook roast beef is key to achieving that perfect, juicy texture every time.