How Long to Cook Corned Beef in an Electric Roaster in 10 Essential Steps
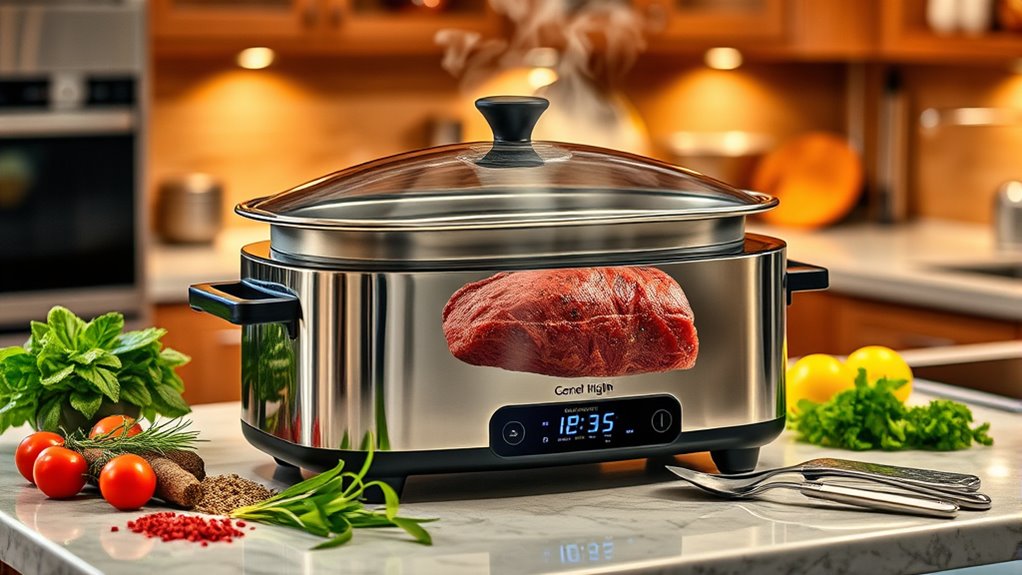
Choose a flat-cut brisket for even cooking, and preheat your electric roaster to 300°F. When learning how long to cook corned beef in an electric roaster, this step ensures consistent heat distribution.
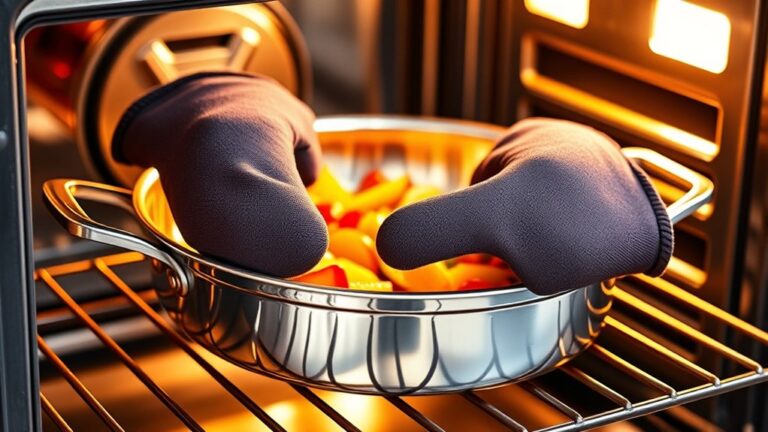
Wrap the beef tightly in foil with your preferred seasoning, placing it on a rack inside the roaster.
Add 4-6 cups of broth or water to the base, which helps keep the meat moist during cooking.
For a 3-pound cut, cook about 4-5 hours, increasing the time for larger cuts accordingly.
To prevent vegetables from becoming mushy, add them later in the cooking process.
Use a meat thermometer to check that the internal temperature reaches 145°F.
Once done, let the corned beef rest before slicing to retain its juices.
Keep following these guidelines for juicy, tender corned beef every time you use your electric roaster.
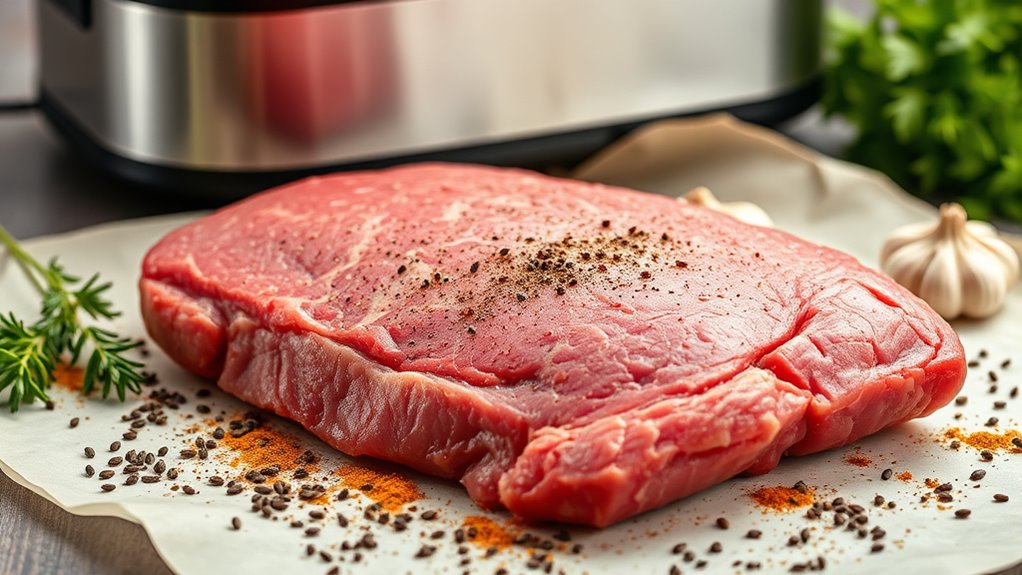
Pick the Best Corned Beef Cut for Your Electric Roaster
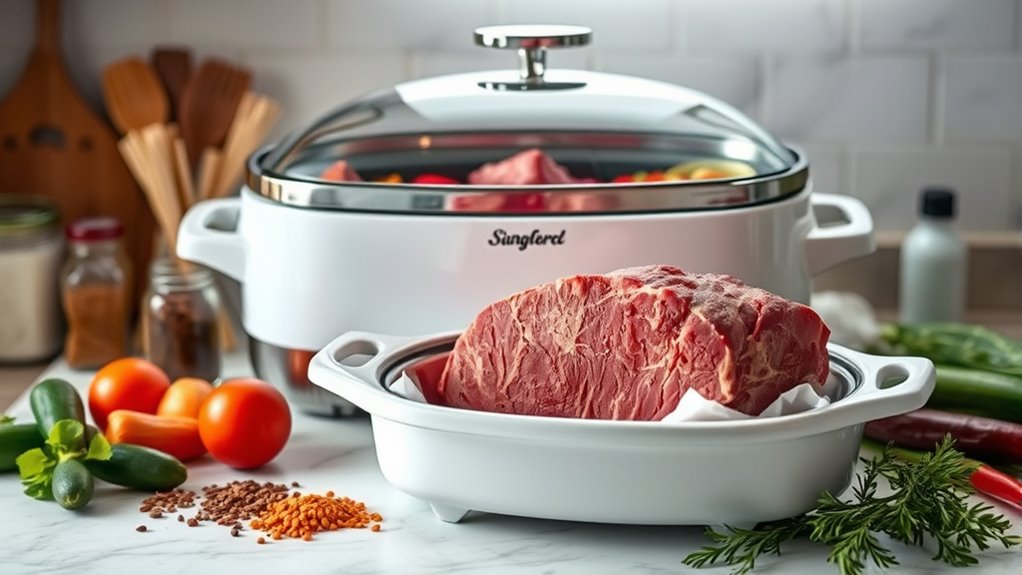
When you select the best corned beef cut for your electric roaster, go for a flat-cut brisket since it cooks evenly and slices easily. This flat cut of corned beef brisket has a consistent thickness, which helps heat penetrate uniformly, avoiding uneven cooking. It also makes slicing neater and simpler once the brisket is tender.
Aim for a piece weighing around 3 to 4 pounds to fit well in a standard electric roaster without extending cooking times unnecessarily. While point cuts are fattier and more flavorful, they tend to be less uniform and may not cook as evenly in an electric roaster. Avoid thick or tall cuts, as they take longer to become tender and can complicate timing.
Choosing the right cut ensures a perfectly cooked corned beef brisket every time.
Get Your Electric Roaster Ready and Set the Right Temperature
Before you start cooking, preheat your electric roaster for 10 to 15 minutes at 250°F to guarantee even heat.
Set the temperature to 300°F for the corned beef, but adjust if your recipe calls for it.
Don’t forget to prepare the roaster insert by placing the rack and adding broth or juices to keep the meat moist.
Preheat Roaster Properly
Although preheating might seem like a small step, you’ll want to set your electric roaster to 250°F and let it warm up for 10-15 minutes before adding your corned beef. Start with a clean, dry interior to help the heat distribute evenly and prevent the meat from sticking.
Follow your roaster’s manual to confirm the right preheat time and temperature for your model. Avoid opening the lid during this process, as it causes heat loss and prolongs the preheating.
Preheating stabilizes the temperature inside the electric roaster, ensuring consistent cooking once the corned beef is inside. Taking this step seriously will help you achieve tender, perfectly cooked meat every time.
Select Appropriate Temperature
Since temperature control is essential, you’ll want to set your electric roaster to around 300°F to cook your corned beef evenly without drying it out. This temperature provides gentle, consistent heat, which is key for even cooking and tender results.
Before adding the meat, preheat the roaster and verify the actual temperature with a reliable thermometer, as some models may differ from the dial setting. Maintaining this temperature throughout the cooking process ensures your corned beef stays flavorful and moist.
Depending on the size of your meat and any vegetables you plan to include, you might need to adjust the temperature slightly. Staying attentive to your roaster’s temperature guarantees perfectly cooked corned beef every time.
Prepare Roaster Insert
To prepare your electric roaster for cooking corned beef, start by preheating it to 300°F and placing a rack at the bottom of the insert to elevate the meat. This setup encourages even heat circulation and prevents the beef from sitting in liquid.
Next, follow these steps:
- Pour 4 to 6 cups of beef broth and juices into the roaster insert to keep the corned beef moist.
- Wrap the corned beef tightly in heavy-duty foil to retain its juices and flavor during cooking.
- Place the wrapped beef on the elevated rack inside the roaster insert.
- Ensure the roaster lid fits securely to lock in moisture and maintain a consistent temperature.
How to Wrap and Season Corned Beef for Maximum Flavor
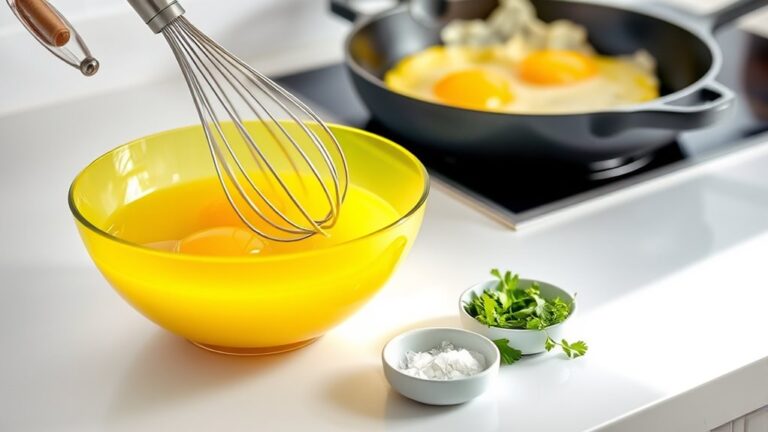
To lock in juices, wrap your corned beef tightly in heavy-duty foil without rinsing it first. Place the seasoning packet on top and add extra pickling spices or garlic for a bolder taste.
Make sure the foil is sealed well so the flavors soak in perfectly during cooking.
Foil Wrapping Techniques
Although wrapping corned beef in foil might seem simple, doing it properly locks in juices and enhances flavor during cooking. Proper foil wrapping ensures an airtight seal that boosts flavor infusion and keeps your beef moist and tender.
Here’s how to master foil wrapping techniques:
- Wrap the corned beef tightly in heavy-duty aluminum foil to prevent moisture loss.
- Layer herbs like thyme or bay leaves inside the foil for extra aroma and taste.
- Place the seasoning packet on top of the foil-wrapped beef to infuse spices deeply.
- Crimp the foil securely around the meat, and double wrap larger cuts to maintain an airtight seal and avoid tearing.
Following these tips guarantees maximum flavor and a perfectly cooked corned beef every time.
Pickling Spice Application
When you wrap your corned beef, placing the pickling spice packet right on top before sealing the foil guarantees the flavors soak deeply into the meat. Start by sprinkling some pickling spices directly inside the foil before adding the beef for even flavor infusion. Then, wrap each piece tightly in heavy-duty foil, pressing out any air to lock in moisture and prevent leaks.
Securely seal the foil to keep the pickling spices in close contact with the meat throughout cooking. This foil wrapping method not only preserves juiciness but also ensures the spices penetrate thoroughly, enhancing the authentic taste of your corned beef. Proper pickling spice application makes all the difference in achieving maximum flavor.
How Much Liquid to Use and Which Types Work Best for Corned Beef
Choosing the right amount and type of liquid plays a crucial role in cooking corned beef properly. You’ll want to use between 4 to 6 cups of liquid—either water, beef broth, or a combination—to keep the meat moist without diluting flavors.
Here’s what works best:
- Use beef broth for rich flavor that complements the seasoning.
- Add water if you prefer a milder taste or want to stretch the broth.
- Incorporate apple juice or package juices to boost tenderness and add subtle sweetness.
- Avoid too much liquid to prevent flavor dilution and ensure proper browning.
Always check your electric roaster’s instructions for water levels. Adding just enough liquid ensures your corned beef cooks evenly and stays juicy throughout the slow cooking process.
How to Adjust Cooking Time for Corned Beef Thickness in an Electric Roaster
Getting the right amount and type of liquid guarantees the stage for perfectly cooked corned beef, but adjusting the cooking time based on the brisket’s thickness ensures it reaches ideal tenderness.
In your electric roaster, thinner briskets around 3 pounds usually take 2.5 to 3 hours, while thicker cuts over 4 pounds need 4 to 5 hours. Increase cooking time by about 30 minutes for every pound beyond 3.
Always use a digital meat thermometer to check for an internal temperature of 145°F to confirm doneness. For very thick cuts, extend the initial cooking phase and test tenderness early to avoid overcooking.
Thinner roasts cook faster, so start checking sooner to prevent drying out. Adjusting cooking time precisely based on meat thickness is key in your electric roaster.
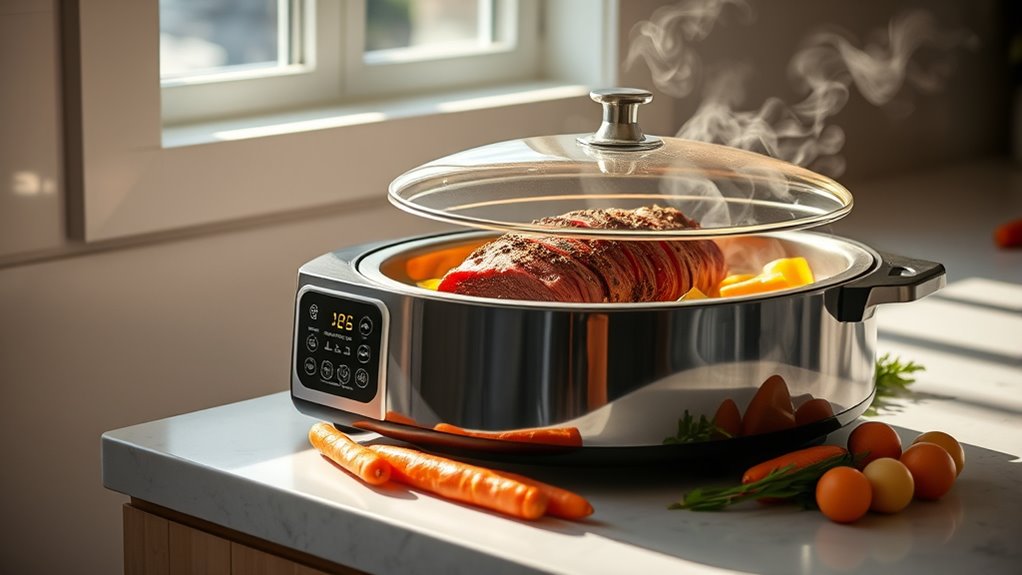
When and How to Add Vegetables in Your Electric Roaster
You’ll want to add your vegetables about an hour after the beef starts cooking to keep them from getting mushy. Cut them into large chunks so they hold up well during the longer cooking time.
Arrange them in a single layer, avoiding the corners, then cover and continue cooking until tender.
Optimal Vegetable Timing
Although the corned beef needs to cook for several hours, adding your vegetables at the right times guarantees they cook perfectly without becoming mushy or overdone. Proper timing prevents overcooking and ensures each vegetable retains its ideal texture and flavor.
- Add root vegetables like potatoes, carrots, and onions about one hour after the beef starts cooking to make them tender without over-softening.
- Introduce cabbage slices or wedges during the last 1 to 1.5 hours to keep them crisp and flavorful.
- Arrange vegetables away from the hot corners and keep them submerged in the cooking liquid for even heat distribution.
- After two hours, check vegetables every 30 minutes to avoid overcooking, adjusting based on size and type.
Mastering this timing will enhance your dish’s taste and texture.
Vegetable Preparation Tips
Timing your vegetable additions is key to perfect texture, but how you prepare and arrange them in your electric roaster also makes a big difference.
Start by cutting vegetables into large chunks or wedges, about two to three bites each, so they hold up during cooking. Add vegetables like potatoes, carrots, onions, and cabbage roughly 1 to 1.5 hours before the cooking ends to get tender vegetables without mushiness.
For even cooking, place denser vegetables such as potatoes and carrots at the bottom of the roaster, while more delicate ones like cabbage go on top. This vegetable preparation method guarantees everything cooks evenly.
Finally, check the vegetables’ tenderness with a fork or knife during the last 30 minutes to confirm they’re perfectly tender and ready to serve.
Preventing Vegetable Overcooking
When you add vegetables to your electric roaster at the right moment, you keep them from turning mushy or overcooked. To prevent vegetable overcooking and ensure they stay tender, follow these key tips:
- Add vegetables like potatoes, cabbage, and carrots after the beef has cooked for about 1 hour.
- Include vegetables during the last 1.5 to 2 hours of cooking to maintain perfect tenderness.
- Place vegetables away from corners and edges where heat is stronger to avoid burning or over-softening.
- Check vegetables every 30 minutes after adding and test for tenderness, removing them once done.
Using larger vegetable chunks also helps slow cooking, preserving texture and flavor. This way, your vegetables stay tender without overcooking.
How to Check Corned Beef Doneness and Internal Temperature
To guarantee your corned beef is perfectly cooked, you’ll want to check its internal temperature with a reliable digital meat thermometer. Insert the thermometer into the thickest part of the meat, avoiding bone or fat, to accurately assess doneness.
The USDA recommends cooking corned beef to an internal temperature of 145°F to ensure safety and tenderness. Check the temperature periodically during cooking to prevent over- or under-cooking.
Once the thermometer reads 145°F, you know your corned beef has reached the ideal doneness. At this point, remove the beef from the electric roaster and let it rest before slicing.
This step locks in the juices, but you’ll learn more about resting in the next section. Monitoring internal temperature is crucial for perfect corned beef every time.
Resting and Slicing Corned Beef After Roasting
After your corned beef reaches the perfect internal temperature and comes out of the roaster, give it at least 20 minutes to rest. This resting period lets the juices redistribute, making your meat tender and juicy.
When you’re ready to slice, keep these tips in mind:
- Use a sharp carving knife to make clean cuts.
- Slice against the grain for easier, neater pieces.
- Cut into 1/4 to 1/2-inch thick slices, based on your preference.
- For even cleaner slices, chill the meat partially in the refrigerator for about 30 minutes before slicing.
Resting before slicing ensures each piece stays moist and flavorful, giving you that perfect tender bite every time.
Adjusting Cooking Time for Different Electric Roaster Sizes
Because electric roasters come in various sizes, you’ll need to adjust cooking times accordingly to guarantee your corned beef cooks evenly and reaches the ideal tenderness. Larger roasters (20-26 quarts) require longer cooking times—up to 5 hours for a 3-4 pound brisket—while smaller ones (16-20 quarts) take about 4 hours.
Overcrowding a large roaster can extend cooking time, so add extra liquid and veggies. For smaller roasters, reduce meat and vegetables to avoid uneven cooking.
| Roaster Size | Cooking Time |
|---|---|
| Small (16-20 qt) | ~4 hours |
| Medium (20-23 qt) | 4-4.5 hours |
| Large (23-26 qt) | Up to 5 hours |
| Check Tenderness | Adjust as needed |
Storing, Reheating, and Using Leftover Corned Beef From the Roaster
When you finish enjoying your corned beef, storing the leftovers properly helps keep them fresh and flavorful for several days. Store leftover corned beef in an airtight container in the refrigerator for up to 3-4 days to maintain quality.
When you’re ready to reheat, simmer the meat in beef broth or pan juices to keep it moist and tasty. For best results, slice cold corned beef thinly against the grain before reheating or serving.
You can also freeze leftovers for 2-3 months using vacuum-sealed or tightly wrapped packaging. Try these ideas to use your leftover corned beef:
- Reheat in broth on the stovetop
- Slice thinly before serving
- Make sandwiches or corned beef hash
- Add to salads for extra protein
Frequently Asked Questions
How Long to Cook Corned Beef in a Roaster Oven?
You’ll cook corned beef in a roaster oven for about 2.5 to 4 hours at low heat.
Check after 2 hours and use a meat thermometer to guarantee it reaches 145°F for perfect tenderness.
How Long Does It Take to Cook a Brisket in an Electric Roaster?
You’ll cook a brisket in an electric roaster for about 3 to 4 hours at 300°F. Smaller cuts might take less, while larger ones need more time.
Always check tenderness and internal temperature to be sure.
How Many Minutes per Pound Should I Cook Corned Beef?
Like a slow dance between heat and meat, you’ll cook corned beef about 45 to 60 minutes per pound in an electric roaster at 300°F.
This timing guarantees tender, flavorful results you’ll love.
Do You Put Water Under a Roasting Pan in an Electric Roaster?
You usually don’t put water under the roasting pan when cooking corned beef in an electric roaster unless your model specifically calls for it.
Adding water can create steam, which prevents browning and crisping of the meat’s surface.
Conclusion
Now that you’ve mastered cooking corned beef in your electric roaster, you’re ready to serve a tender, flavorful meal that melts like a sunset on your taste buds. Just like a skilled captain steering through calm waters, you’ve navigated every step—from choosing the cut to perfect resting.
With these essentials, your corned beef will always come out just right, turning your kitchen into a cozy harbor of delicious aromas and satisfied smiles. Knowing how long to cook corned beef in an electric roaster ensures you achieve that perfect texture and flavor every time.
By following these 10 essential steps, your electric roaster becomes the secret to consistently delicious corned beef that everyone will love.