How You Make Sourdough Bread in a Loaf Pan
To make sourdough bread in a loaf pan, start with an active sourdough starter and mix it with flour, water, and salt until the dough becomes sticky. This combination is essential for developing the characteristic tangy flavor and texture of sourdough bread.
Let the dough ferment until it doubles in size. During this time, perform stretch-and-folds to build gluten strength, which helps create a good crumb structure.
Next, shape the dough into a tight oval that fits snugly into your loaf pan. Creating surface tension is key to a nice rise. Then proof the dough until it becomes airy and nearly doubles again.
Bake the loaf initially at 425°F, then lower the heat to finish baking thoroughly. For tips on perfect shaping, proofing timing, and avoiding common issues, keep exploring these sourdough bread-making techniques.
Preparing and Mixing Your Sourdough Dough
Before you begin mixing, make sure your sourdough starter is active and bubbly. Combine 100 grams of starter, 512 grams of bread flour, 10 grams of salt, and 430 grams of water in a large bowl. Mix thoroughly until you get a sticky, cohesive dough and all the flour is fully hydrated.
Let the dough rest for 20 minutes to kickstart gluten development. After the rest, perform three to five stretch and fold sessions at 30-minute intervals to strengthen the dough’s structure.
Once complete, let the dough ferment at room temperature for 4 to 6 hours until it roughly doubles in size and passes the poke test. This fermentation and proofing process is essential before you move on to shaping your sourdough loaf pan bread.
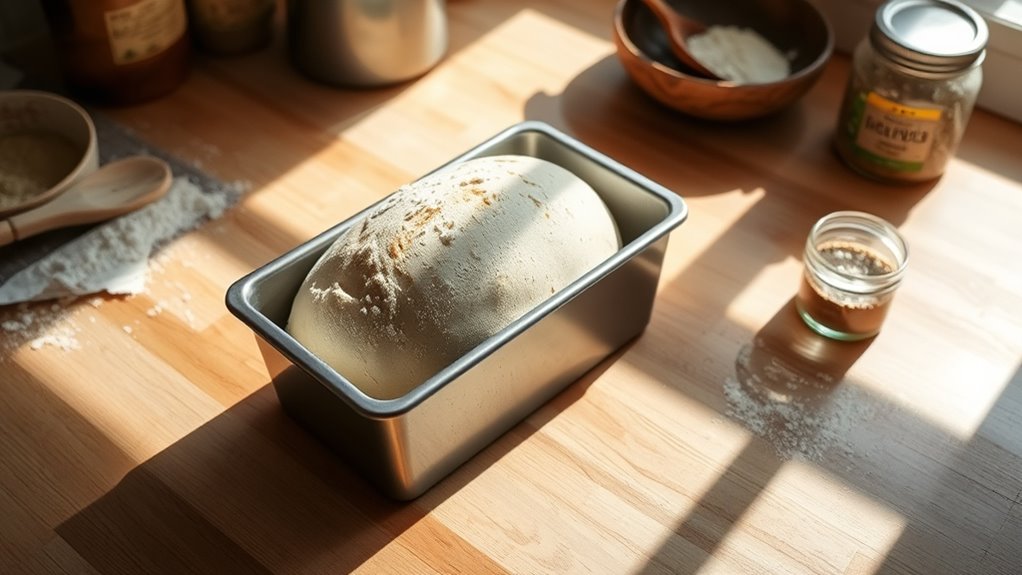
Shaping Your Sourdough for a Loaf Pan
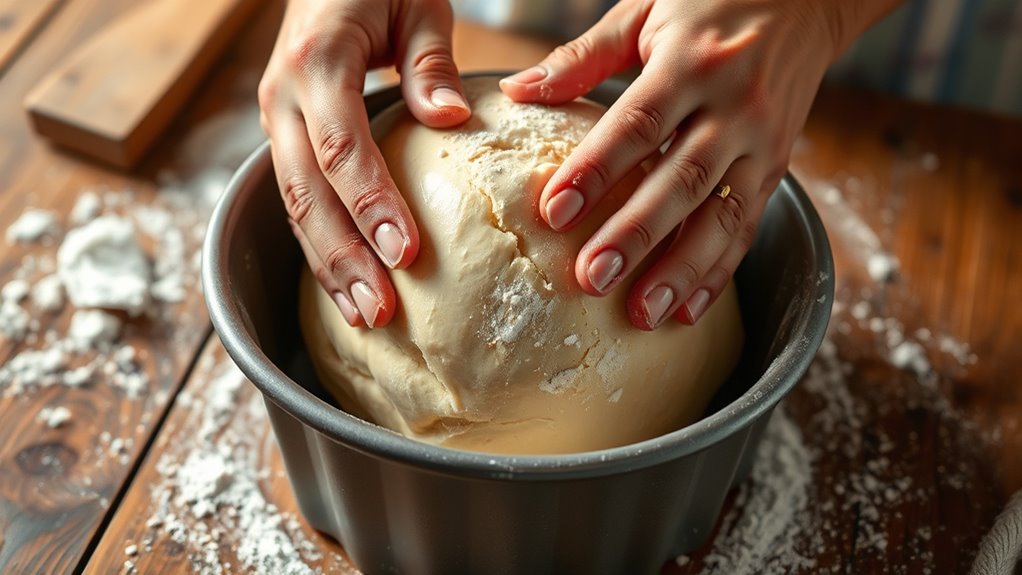
When you’re ready to shape your sourdough, form the dough into a tight oval or rectangle that fits snugly in your loaf pan. Lightly flour the surface to prevent sticking during shaping dough. Use ball shaping and gently rolling techniques to press out excess air, creating surface tension for an even distribution of air bubbles.
Place the shaped dough seam-side down in a buttered or parchment-lined loaf pan. Make sure you’re fitting dough so it fills about two-thirds to three-quarters of the pan, allowing room for the final rise during proofing.
| Step | Action | Purpose |
|---|---|---|
| 1 | Lightly flour dough | Prevent sticking |
| 2 | Shape oval/rectangle | Fit loaf pan snugly |
| 3 | Gently roll dough | Create surface tension |
| 4 | Place seam-side down | Ensure smooth loaf surface |
| 5 | Fill ⅔ to ¾ of pan | Allow room for final rise |
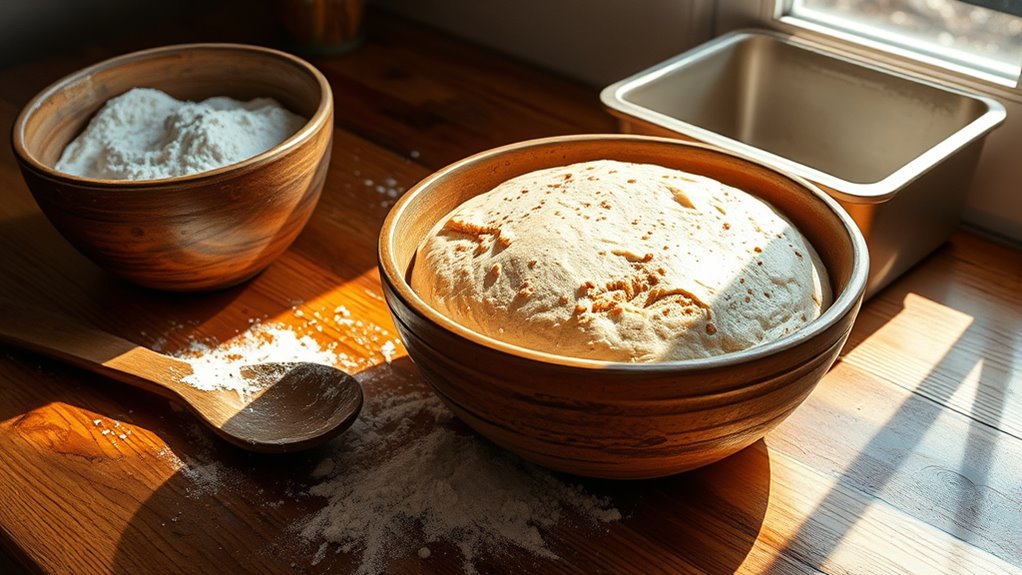
Proofing Your Sourdough Loaf: Timing and Tips
Although proofing times can vary, you’ll generally want to let your sourdough rise for 4 to 6 hours at room temperature or overnight in the refrigerator, depending on how active your dough is and the ambient temperature.
During this proofing stage, shape your dough and place it in a prepared loaf pan, which serves as your proofing container. Cover it loosely with a breathable material to avoid surface sticking or tearing.
Monitor the proofing environment closely; the dough should nearly double in size, feel light and airy, and pass the poke test. Keep track of the proofing duration and dough activity to guarantee ideal rise time.
These proofing tips help you avoid under- or over-proofing, so your loaf crowns the pan rim and holds its shape perfectly before baking.
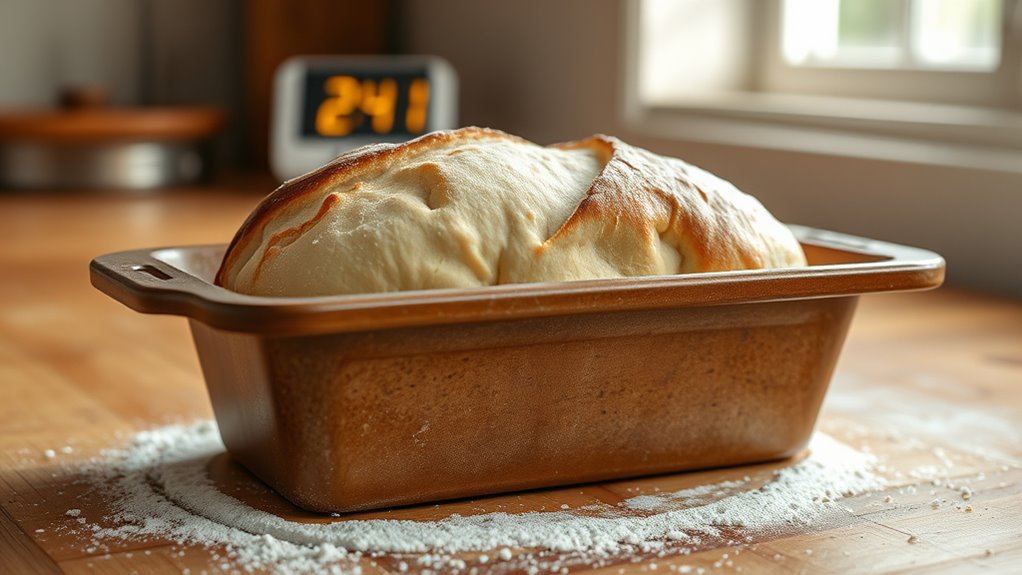
Baking Your Loaf Pan Sourdough: Temperature and Time
Since proper baking temperature and timing are essential, you’ll want to preheat your oven to 425°F (220°C) and warm your loaf pan inside to guarantee an even bake. Follow this baking schedule for best results:
- Bake at 425°F for 20-25 minutes to develop a crisp crust and initial rise.
- Lower the oven settings to 375°F (190°C) and continue baking for another 20-25 minutes to finish cooking through.
- Check the internal temperature with an instant-read thermometer; it should reach 206-210°F (97-99°C).
Look for a deep golden brown crust color as a visual cue. Remember, bake duration may vary based on loaf pan size and oven calibration.
After baking, cool your loaf at room temperature for 30 minutes to set texture before slicing.
Troubleshooting Common Loaf Pan Sourdough Issues
Getting the perfect sourdough loaf in your pan can sometimes be tricky, even if you nail the baking temperature and time. Common issues often stem from proofing mistakes, improper scoring, or inadequate steam, all affecting oven spring, crust, and crumb.
Also, using the right pan size and maintaining consistent oven temperature are vital for proper bread expansion and shape.
| Issue | Solution |
|---|---|
| Dense, flat loaf | Adjust proofing time; avoid under-proofing |
| Pale crust, no rise | Add steam; check oven temperature |
| Irregular cracks | Score dough properly before baking |
| Uneven bake | Use correct pan size; monitor oven heat |
Frequently Asked Questions
Can I Bake My Sourdough in a Loaf Pan?
Yes, you can bake your sourdough in a loaf pan. Just grease or line it well, shape your dough to fit, proof it properly, and bake at a high temperature with steam for a crispy crust.
Using a loaf pan helps the dough hold its shape and can make slicing easier. Be sure not to overfill the pan to avoid overflow during baking.
Adjust the baking time as needed since the dough may bake faster in a pan than on a baking stone or sheet.
What Is the Biggest Mistake Beginners Make With Sourdough Bread?
The biggest mistake you make is rushing fermentation, like sprinting through a garden that needs time to bloom.
Let your dough rest and develop flavor—it’s patience, not speed, that crafts a perfect sourdough loaf.
What Makes a Loaf Pan Ideal for Sourdough?
An ideal loaf pan for sourdough evenly distributes heat, supports your dough’s rise, and creates a straight-sided crust.
You’ll want non-reactive materials like stainless steel or glass to keep flavors pure and handle high baking temperatures.
Can You Use a Loaf Pan Instead of a Dutch Oven for Bread?
Yes, you can use a loaf pan instead of a Dutch oven. Just preheat the pan, add steam by placing hot water nearby, and adjust baking time slightly to get a nice crust and even bake.
Conclusion
Now that you’ve mastered making sourdough in a loaf pan, you’re set to savor soft, satisfying slices straight from your oven. Remember, patience perfects your proofing, and practice polishes your shaping skills. Don’t despair over dough dilemmas—they’re just part of the process.
With time, your tasty, tangy treats will turn into treasured traditions. Keep kneading, keep nurturing, and keep enjoying every crunchy, chewy crumb created by your careful craft!
By following these steps to make sourdough bread in a loaf pan, you’ll consistently bake delicious, artisan-quality bread at home. Happy baking and enjoy your homemade sourdough bread in a loaf pan!