How You Bake Sourdough Bread in a Loaf Pan
To bake sourdough bread in a loaf pan, start by mixing your active starter with water and flour. This step is crucial for developing the right dough consistency.
Next, autolyse the mixture to improve gluten development, which enhances the bread’s texture.
Shape the dough so it fits snugly in your greased or lined loaf pan.
Proof the dough until it becomes puffy and springs back slowly when poked, which usually takes several hours or overnight.
Bake the bread at high heat with steam to achieve a crispy crust.
Then, lower the temperature to finish baking the loaf evenly.
Finally, let the bread cool fully before slicing to preserve its texture.
Keep following for tips to perfect your loaf’s crust and crumb, ensuring a delicious homemade sourdough every time.
Ingredients and Equipment for Loaf Pan Sourdough
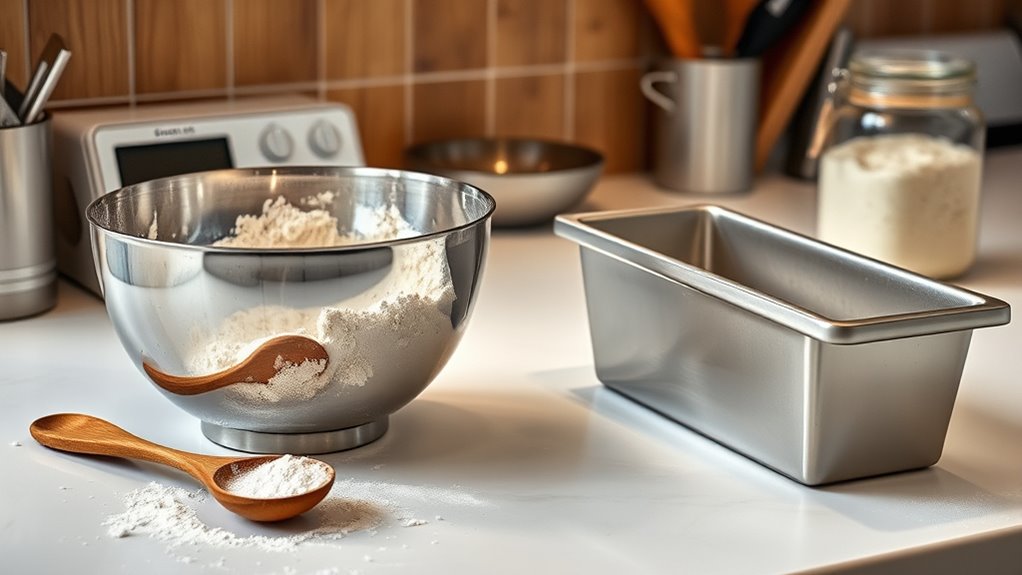
When you bake sourdough bread in a loaf pan, start by gathering the right ingredients and equipment. Use bread flour, water, salt, and an active sourdough starter to create a wet, high-hydration dough. For your loaf pan, choose a standard 9×5 inch one made of metal, glass, or ceramic, making sure it’s heat-safe and non-reactive.
Prepare the pan by greasing it with butter or oil, or line it with parchment paper to prevent sticking during baking. To handle the dough, have a dough scraper or bench knife ready for shaping. Use a proofing basket or bowl for the initial fermentation before transferring the dough to your loaf pan.
You can double the recipe to bake two loaves or adjust quantities for larger batches.
Mix and Autolyse Your Sourdough Dough
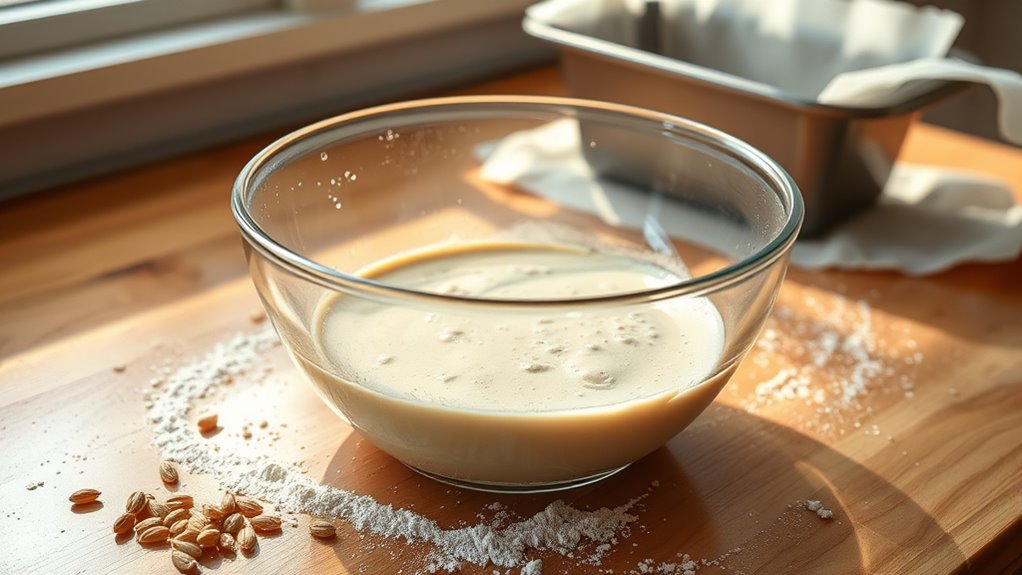
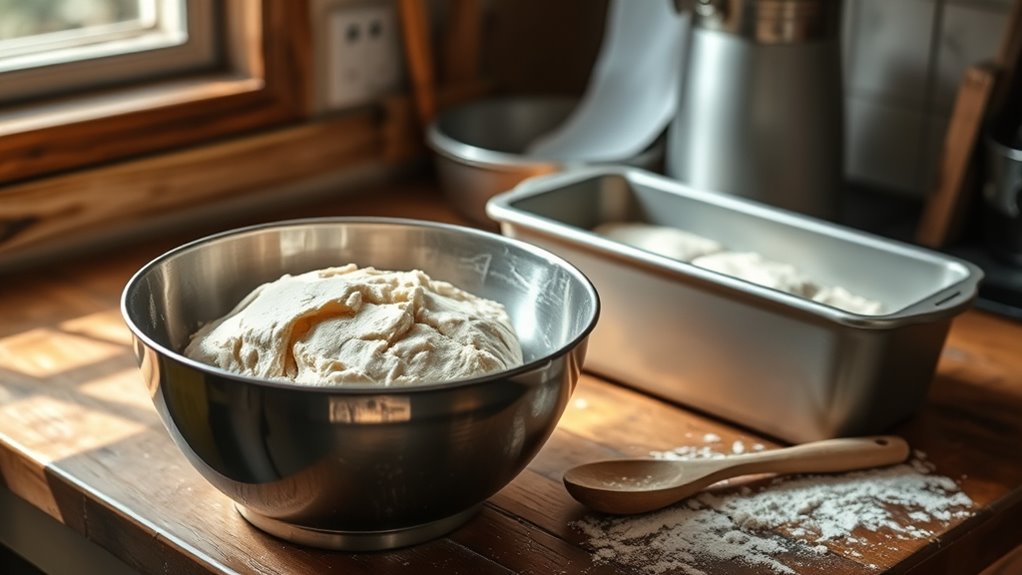
After preparing your ingredients and loaf pan, start by mixing your active sourdough starter with water before adding the flour and salt. Mix thoroughly until you get a shaggy dough with no dry flour left.
Cover the bowl with a damp towel or plastic wrap and let it rest for 30 minutes to 1 hour for autolyse. During this time, gluten begins to develop, which improves dough extensibility and sets the stage for better fermentation.
After autolyse, you’ll strengthen your dough by performing a series of stretch and folds or gentle kneading. This step enhances dough development, making it more elastic and ready for bulk fermentation. Proper mixing and autolyse are *essential* for a strong dough structure that will hold its shape in your loaf pan.
Shape Your Dough to Fit the Loaf Pan
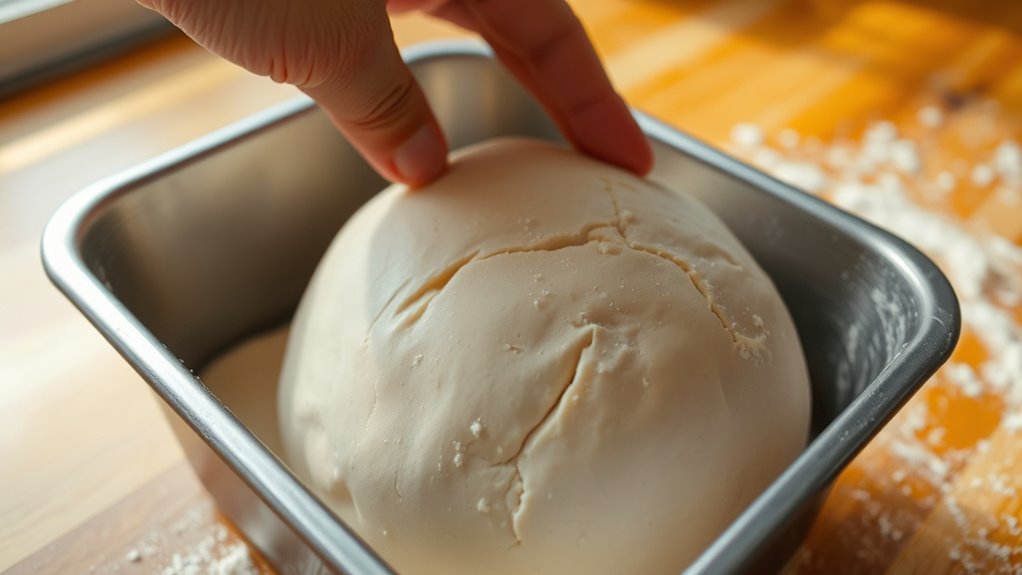
Although your dough has already proofed, you’ll need to gently stretch it into a rectangular shape about twice the size of your loaf pan. Lightly flour your surface and hands to handle the sticky dough during shaping.
Next, roll the dough tightly from one short end, pinching the seam closed to keep it secure during baking. Place the shaped dough seam-side down in a greased or parchment-lined loaf pan for proper support.
| Step | Tips |
|---|---|
| Shape | Stretch dough gently |
| Rolling | Roll tightly from short end |
| Seam | Pinch seam to seal |
| Loaf Pan | Place seam-side down in pan |
This careful shaping sets your dough up for even proofing and a beautiful loaf.
Proofing Your Sourdough Dough in a Loaf Pan
Since proofing transforms your dough’s texture and volume, giving it enough time in the loaf pan is essential to achieve a light, airy crumb. Place your shaped dough in the loaf pan and let it rise until it nearly doubles in size, feels puffy, and jiggles slightly when shaken.
The proofing time varies—usually 4-6 hours at room temperature or overnight in the fridge for a slower, flavor-rich rise. Use the poke test: gently press your finger into the dough; it should bounce back slowly but leave a slight imprint. Proper proofing guarantees a good dough rise and prevents dense bread, setting you up for an impressive oven spring.
Preheat Your Oven for Loaf Pan Sourdough
You’ll want to preheat your oven to 450°F (232°C) at least 30 minutes before baking to guarantee consistent heat.
Adding a baking dish with water on the bottom rack helps create steam, which is key for a crispy crust.
Don’t forget to preheat your loaf pan or oil it well to prevent sticking when you bake.
Optimal Oven Temperature
When baking sourdough bread in a loaf pan, preheating your oven to 450°F (232°C) guarantees even heat distribution for a perfect crust and crumb. Make sure to let your oven fully reach this temperature, which usually takes about 15-20 minutes. Using an oven thermometer helps verify the oven temperature is accurate since many ovens run hotter or cooler than their settings indicate.
During preheating, place a metal tray with hot water on the bottom rack to create steam, enhancing the crust’s texture. After the initial baking phase, remove the tray and adjust the oven temperature to around 400-425°F depending on your recipe and pan. These steps optimize baking conditions for sourdough in a loaf pan, ensuring a consistent rise and flavorful crust.
Steam Generation Techniques
Although generating steam might seem like a small detail, it plays an essential role in developing a crisp, well-textured crust for your sourdough loaf. Start by preheating your oven to 450°F (232°C) and placing a metal or heat-safe water dish filled with 1-2 cups of water on the bottom rack. This steam helps enhance oven spring and promotes excellent crust development during the crucial initial baking phase.
Use a baking stone or heavy-duty sheet under your loaf pan to maintain consistent baking temperature. Avoid opening the oven door for the first 15-20 minutes to trap steam effectively. For extra steam, quickly add boiling water to the water dish or spray water into the oven just before closing the door after loading your loaf.
Bake Sourdough Bread in a Loaf Pan
If you want a loaf with a uniform shape and even crumb, shaping your fermented sourdough into an oval or rectangle and placing it seam-side down in a greased or parchment-lined loaf pan is key. Using the loaf pan method, proof the dough until it nearly doubles and passes the poke test.
Meanwhile, preheat your oven to 450°F (230°C) and prepare for steam baking by adding a water tray. Bake the dough covered with a lid or foil for 20-25 minutes to trap steam, which aids crust development.
Then, uncover and reduce the temperature to 400°F (200°C), baking for another 15-20 minutes until the crust turns golden and the internal temperature hits about 200°F (93°C). Finally, cool the loaf on a wire rack before slicing.
Tips for a Crispy Crust and Soft Crumb
Baking sourdough in a loaf pan sets the stage for a well-shaped bread, but achieving a crispy crust with a soft crumb takes some extra attention. Start by preheating your oven to a high baking temperature around 450°F (232°C) to promote oven spring and crust development. Introduce steam during the first 20-25 minutes—place a water tray underneath or cover the loaf with another pan to trap steam.
This moisture helps the crust become golden and crunchy while the crumb stays tender. Once baked, transfer your loaf to a wire rack to cool completely. Avoid wrapping or cutting the bread while hot since trapped moisture softens the crust.
Cool, Store, and Slice Your Loaf Pan Sourdough
Once your sourdough loaf is out of the oven, let it cool completely in the pan before moving it to a wire rack to preserve its crumb.
You’ll want to store it properly to keep the crust crisp, whether that’s in a paper bag or wrapped for freezing.
When it’s time to slice, use a serrated knife and wait until the bread is fully cooled to get clean cuts without squishing.
Cooling Techniques Explained
Although it’s tempting to slice your sourdough right out of the oven, you should let it cool completely to preserve its texture and flavor. Start by leaving your loaf in the pan for at least 10 minutes to avoid condensation, which can make the crust soggy.
Then, transfer the bread onto a wire rack to finish cooling. This step is vital because it allows air to circulate around the loaf, preventing moisture buildup and maintaining a crisp crust. Cooling thoroughly also helps the crumb set properly, so when you slice your bread, you avoid a gummy texture.
Proper Storage Methods
After your sourdough has cooled completely on a wire rack, the next step is to store it properly to keep it fresh and tasty. Proper bread storage guarantees your loaf maintains its texture and flavor.
- Store your cooled loaf in a breathable bag—like paper, cloth, or a bread box—for up to five days to avoid sogginess.
- Wrapping the bread tightly in plastic wrap or foil preserves freshness longer but may soften the crust, so use this method if you prefer a softer crust.
- For extended storage, slice the bread and freeze it in an airtight container or freezer bag for up to two months. Thaw slices at room temperature or toast them directly from frozen.
Following these cooling and storage tips will keep your sourdough delicious and ready to enjoy.
Best Slicing Practices
To get the best slices from your loaf pan sourdough, make sure the bread has cooled completely on a wire rack. Cooling preserves the crumb structure and prevents squishing or gummy textures. Use a serrated bread knife for slicing, starting from the heel toward the crust to get clean, even pieces.
Store your cooled loaf in a breathable bag to keep the crust fresh up to five days. For longer storage, wrap it tightly and freeze.
| Step | Tip |
|---|---|
| Cooling | Cool fully on a wire rack |
| Slicing | Use serrated bread knife |
| Direction | Slice from heel to crust |
| Short-term | Store in paper or linen bag |
| Long-term | Wrap tightly and freeze |
Frequently Asked Questions
Can I Bake My Sourdough in a Loaf Pan?
Yes, you can bake your sourdough in a loaf pan. Just make sure your dough is well-proofed, shape it gently to fit, and bake with steam initially.
Then, lower the temperature to finish baking evenly.
How Do You Adjust Baking Time for Loaf Pans?
You’ll want to watch closely—you might need to bake it 40 to 50 minutes, but if your loaf’s bigger or your oven’s quirky, tweak the time.
Check for a golden crust and firm, springy feel to know it’s perfect.
What Is the Biggest Mistake Beginners Make With Sourdough Bread?
The biggest mistake you make is under or over fermenting your dough.
If you don’t let it proof fully until it’s puffed and almost doubled, your bread turns out dense and lacks good rise and texture.
Can You Use a Loaf Pan Instead of a Dutch Oven for Bread?
Yes, you can use a loaf pan instead of a Dutch oven. Just preheat it, cover it with another pan or foil, and add steam by placing water nearby to get a crispy crust and good oven spring.
Conclusion
Now that you’ve mastered baking sourdough in a loaf pan, imagine pulling a golden, crackling treasure from your oven—like uncovering a warm story from a well-loved book.
With each slice, the soft crumb reveals the patience and care you’ve kneaded in. Keep practicing, and soon your kitchen will smell like a cozy bakery, where every loaf tells its own delicious tale.
Happy baking, and enjoy the rewarding process of sourdough bread in a loaf pan!