How to Use Chilli Vinegar to Make Paneer at Home
To make paneer with chilli vinegar at home, start by marinating fresh paneer cubes in the chilli vinegar. This step helps infuse a tangy, spicy flavor while tenderizing the cheese. Let the paneer marinate for at least 30 minutes to achieve the best taste.
Next, coat the marinated paneer with cornflour. Fry the coated cubes until they turn golden and crisp on the outside.
Prepare a rich sauce by balancing soy sauce and spices to complement the spicy paneer. Store any leftovers properly to maintain freshness.
For tips on perfect marination, flavor balance, and storage, there’s plenty more to explore.
What’s Chilli Vinegar and Why It’s Perfect for Chilli Paneer
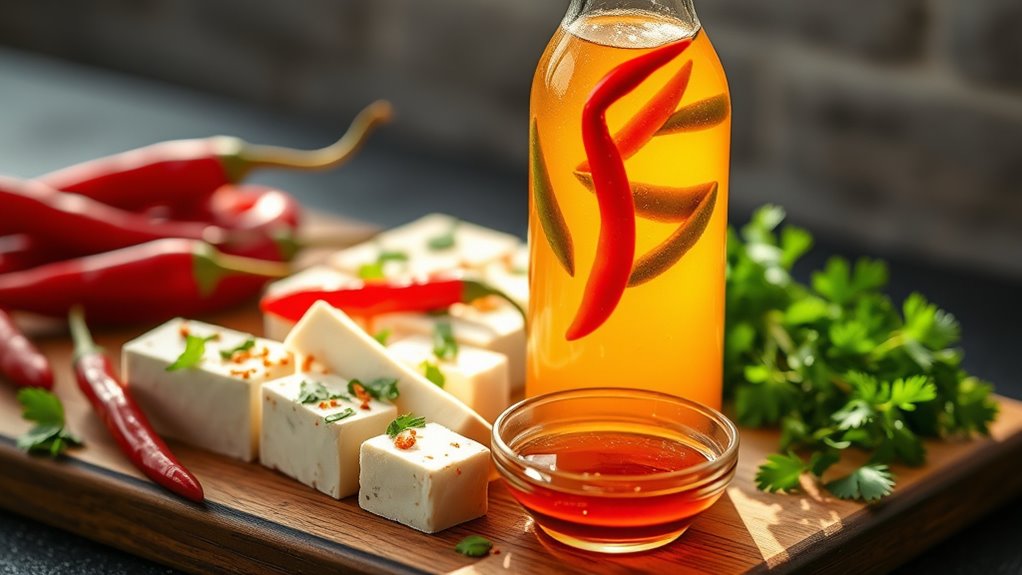
What makes chilli vinegar a standout ingredient for Chilli Paneer? It’s the perfect blend of tangy acidity and spicy heat that instantly elevates your dish. When you add chilli vinegar, you’re not just seasoning; you’re tenderizing the paneer and enhancing its crispy texture with a zesty kick.
If you’re setting up a new account to explore Asian cooking, chilli vinegar is a must-have pantry staple. Making it at home is simple—just steep fresh or dried chilies in vinegar for a few days to develop a rich, spicy tang.
Using this seasoned vinegar, you’ll bring depth and bold flavor to your Chilli Paneer that pre-made sauces can’t match, making your homemade dish truly unforgettable.
Ingredients Needed for Chilli Paneer With Chilli Vinegar
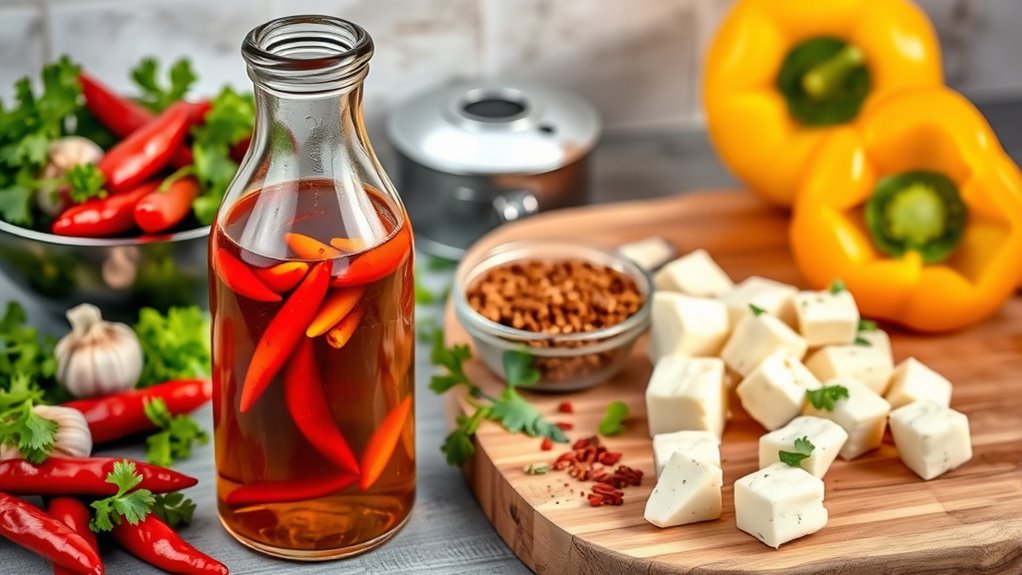
You’ll need a few key ingredients to make chilli paneer with chilli vinegar, including paneer, red chilli sauce, soy sauce, and garlic.
Don’t forget to add fresh green chilies and, of course, the chilli vinegar for that perfect tangy kick. These spices and sauces come together to create the bold, spicy flavor you’re aiming for.
Essential Ingredients List
A well-balanced blend of ingredients is key to making delicious chilli paneer with chilli vinegar. You’ll need fresh paneer as the main ingredient, ensuring it’s firm enough to hold its shape when cooked. Cornflour helps give the paneer a crispy texture when fried.
Soy sauce adds a savory depth, while the star of the dish is the chilli vinegar—a tangy, spicy condiment made by infusing vinegar with dried red chilies, garlic, and optional spices like peppercorns or cumin seeds for at least 24 hours. This chilli vinegar injects a vibrant spicy and sour note that elevates the paneer’s flavor.
Keep your chilli vinegar stored in a glass jar in the fridge for up to a month, so it’s ready whenever you want to make this flavorful dish.
Spices And Sauces
Building on the ingredients that form the base of your chilli paneer, the right spices and sauces bring the dish to life. Chilli vinegar plays a starring role here, infusing your paneer with tangy heat. It’s made by steeping dried red chilies, garlic, and spices like red chili flakes in a vinegar base, often white or rice vinegar, for several days.
This infusion adds a spicy, tangy kick that perfectly complements the savory paneer. Besides chilli vinegar, consider including whole dried chilies or a pinch of chili flakes to intensify the heat. These spices and sauces don’t just add flavor—they create the bold, vibrant profile that defines classic chilli paneer, elevating your homemade dish to restaurant quality.
How to Make Fresh Paneer at Home
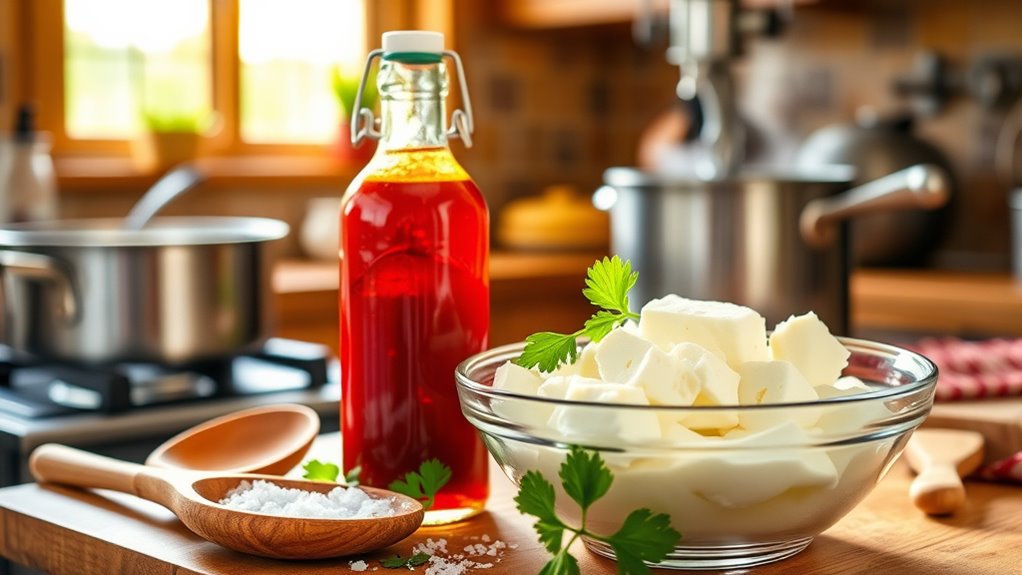
Wondering how to make fresh paneer at home? Start by bringing 4 cups of full-fat milk to a boil in a heavy-bottomed pan. Once it boils, slowly add 2-3 tablespoons of lemon juice or vinegar while stirring continuously. Keep stirring until the milk curdles completely.
Turn off the heat and let the curds sit for 5-10 minutes to firm up. Next, drain the curds through a cheesecloth or muslin cloth, then rinse them under cold water to remove any leftover acidity. Squeeze out the excess water, shape the paneer into a block, and refrigerate it for 1-2 hours.
After chilling, your fresh paneer is ready to be cut and used in your favorite recipes.
Marinate Paneer Cubes With Chilli Vinegar
You’ll find that marinating paneer cubes in chili vinegar not only adds a spicy tang but also tenderizes them for better texture.
Letting the paneer soak for at least 30 minutes guarantees the flavors fully infuse. To boost taste, mix in a bit of soy sauce or sesame oil before marinating.
Benefits Of Chilli Vinegar
Although paneer has a mild flavor on its own, marinating it with chilli vinegar transforms it by adding a tangy and spicy kick that enhances its taste. When you soak paneer cubes in chilli vinegar, you not only infuse bold flavors but also tenderize the cheese, making it softer and more enjoyable.
Chilli vinegar balances paneer’s richness with its zesty, spicy notes, preventing the dish from feeling heavy. Plus, it naturally boosts the antioxidant content of your meal, supporting your health. Beyond flavor, it elevates the aroma, making your paneer dish more inviting.
Using chilli vinegar in your marinade is a simple way to upgrade your homemade paneer, turning it into a vibrant, delicious treat you’ll want to enjoy again and again.
Marination Time Guidelines
When you marinate paneer cubes with chilli vinegar, allowing at least 30 minutes guarantees the flavors soak in properly. For a richer taste, you can extend marination up to 1 hour, making sure to turn the cubes occasionally for even flavor distribution.
Keep the paneer refrigerated throughout to preserve freshness and prevent spoilage. Avoid marinating longer than 2 hours, as the vinegar’s acidity may start breaking down the texture.
Follow these guidelines:
- Use a shallow dish to coat paneer cubes evenly with chilli vinegar.
- Marinate for 30 minutes minimum; up to 1 hour for stronger flavor.
- Refrigerate during marination and avoid exceeding 2 hours to maintain texture.
This ensures your paneer absorbs just the right amount of zing without compromising its firmness.
Flavor Enhancement Tips
Since marinating paneer cubes with chilli vinegar forms the flavor foundation, you can amplify the taste by adding soy sauce, minced garlic, and a pinch of black pepper to the mix. Marinate the cubes for at least 30 minutes, or overnight for a deeper, more intense flavor.
Remember to drain excess marinade before cooking to prevent sogginess. Brushing some extra chilli vinegar while grilling or frying adds a fresh zing.
| Ingredient | Purpose |
|---|---|
| Soy Sauce | Adds umami and saltiness |
| Minced Garlic | Enhances depth and aroma |
| Black Pepper | Introduces mild heat and spice |
This combination balances heat, acidity, and savory notes, transforming your paneer into a flavorful delight.
How to Prepare Hot Mixed Sauce for Chilli Paneer
To prepare the hot mixed sauce for Chilli Paneer, start by blending soy sauce, tomato ketchup, chili sauce, and a pinch of sugar to balance the flavors. Next, enhance the aroma and depth by adding minced garlic and ginger.
Begin by blending soy sauce, ketchup, chili sauce, and sugar to create the flavorful base for your chilli paneer sauce.
Finally, incorporate chopped green chilies and bell peppers for texture and extra heat. Adjust the spice level to your liking by modifying the amount of chili sauce or fresh chilies. Simmer the sauce until it thickens slightly, then remove it from the heat and set it aside for later use.
Follow these steps:
- Mix soy sauce, ketchup, chili sauce, and sugar.
- Add minced garlic and ginger.
- Stir in green chilies and bell peppers, then simmer until thickened.
Cook Chilli Paneer With Sauce and Vegetables
Although the paneer is already fried to a golden brown, you’ll want to combine it with stir-fried vegetables and a tangy chilli vinegar sauce to bring all the flavors together. Start by stir-frying bell peppers, onions, and spring onions in a hot pan until they’re just tender.
Then, add the fried paneer cubes to the vegetables. Pour over the chilli vinegar mixed with your hot sauce, stirring well to coat everything evenly. This mixture creates a vibrant, flavorful coating that complements both the paneer and veggies perfectly.
Finish by garnishing with chopped fresh coriander or additional spring onions. Serve your chilli paneer hot alongside rice or noodles for a delicious, satisfying meal that’s bursting with zest and color.
How to Balance Heat and Flavor in Chilli Paneer
Bringing together the bold flavors of chilli vinegar and stir-fried vegetables with paneer creates a dish full of zest and spice. To balance the heat and flavor, you need to be mindful during cooking.
Here’s how you can achieve that balance:
- Start with a moderate amount of chilli vinegar, then taste and adjust so the heat doesn’t overpower the paneer.
- Add a touch of honey or sugar to soften the spiciness and bring out the dish’s natural sweetness.
- Incorporate cooling elements like chopped cilantro or cucumber to freshen the palate and calm the heat.
Storing Homemade Chilli Paneer Safely
To keep your homemade chilli paneer fresh, store it in an airtight container and refrigerate at or below 4°C (39°F).
You’ll want to enjoy it within 2-3 days to maintain the best taste and safety, especially if it has sauces or vinegar. When reheating, make sure it’s heated thoroughly to avoid any foodborne risks.
Optimal Storage Conditions
When you make chilli paneer at home, storing it properly is key to keeping it fresh and safe to eat. To guarantee your paneer stays delicious and safe, follow these best storage tips:
- Store your chilli paneer in an airtight container to keep out moisture and air, which can cause spoilage.
- Keep the container refrigerated at or below 4°C (39°F) to maintain freshness and slow bacterial growth.
- Check for any signs of spoilage like a sour smell or slimy texture before eating leftovers.
If you decide to freeze your paneer, use a freezer-safe container or bag and consume it within one month for the best quality.
These steps will help you enjoy your homemade chilli paneer safely.
Shelf Life Expectations
Although homemade chilli paneer tastes best fresh, you can safely store it in the refrigerator for 2 to 3 days if you keep it in an airtight container. This helps maintain its freshness and prevents spoilage. Always avoid leaving your chilli paneer out at room temperature for more than 2 hours to reduce bacterial growth.
When you’re ready to eat, reheat it thoroughly to at least 75°C (165°F) to ensure it’s safe. If you want to keep it longer, freezing is an option—this can extend its shelf life up to 1 month. Just keep in mind that freezing might slightly alter the texture and flavor after thawing.
Following these guidelines will help you enjoy your homemade chilli paneer safely and deliciously.
Chilli Paneer Variations Using Chilli Vinegar
Since chilli vinegar brings a tangy heat, you can use it in several ways to create exciting chilli paneer variations. It’s a versatile ingredient that adds both spice and acidity, enhancing every bite.
Chilli vinegar adds tangy heat and vibrant acidity, perfect for creating exciting chilli paneer variations.
Here are three tasty ways to use chilli vinegar with paneer:
- Marinate paneer cubes in chilli vinegar before cooking to infuse them with tangy, spicy flavor.
- Mix chilli vinegar with soy sauce, garlic, and ginger to make a bold sauce for stir-fried paneer.
- Use chilli vinegar as a zesty dipping sauce for fried or grilled paneer pieces.
You can easily adjust the amount of chilli vinegar to control the sourness and heat, tailoring each dish to your taste preferences.
Troubleshooting Common Chilli Paneer Cooking Issues
To get the best texture and flavor from your chilli paneer, you’ll want to avoid a few common pitfalls. First, don’t overcook the paneer; just fry until it’s lightly golden to keep it soft, not rubbery. Make sure your chili-vinegar mixture coats the paneer evenly—an insufficient coating leads to blandness.
Use fresh, room-temperature paneer instead of cold or refrigerated, which can break or become tough. Watch the sauce’s moisture; cook it until thickened so the paneer doesn’t turn soggy. Also, stir-fry at medium heat to avoid burning spices and ruining the flavor.
Frequently Asked Questions
Which Vinegar Is Best for Paneer?
You’ll want to use apple cider or white vinegar for paneer—they’ve got the right acidity and mild flavor.
Avoid flavored vinegars like chili vinegar, as they can change the taste and texture of your paneer.
Can I Use Vinegar to Make Paneer at Home?
You can definitely use vinegar to make paneer at home—about 1-2 tablespoons curdle a liter of milk efficiently.
It’s a popular method, used in over 60% of homemade paneer recipes worldwide.
What Is Chilli Vinegar Used For?
You use chilli vinegar to add tangy, spicy flavor to your dishes. It works great as a marinade, drizzle, or dipping sauce, enhancing paneer, seafood, salads, and stir-fries with a zesty, balanced kick.
How to Make Chilli Paneer Ingredients?
You’ll need paneer, soy sauce, cornflour, all-purpose flour, baking powder, chilli vinegar, bell peppers, onions, garlic, ginger, and spices.
These ingredients blend bold, bright flavors that’ll make your chilli paneer irresistibly delicious at home.
Conclusion
Now that you’ve mastered using chilli vinegar to make paneer, you’re just one step away from creating a dish bursting with bold, fiery flavors.
But here’s the twist—what if your next batch could surprise even your toughest critics? Keep experimenting with those tangy, spicy notes, and you might just reveal a secret that transforms your chilli paneer into something unforgettable.
Ready to take that leap? Your kitchen adventure is only beginning with chilli vinegar to make paneer at home. Embrace the process, and let your creativity shine in every bite.